This easy Tiramisu recipe is made without eggs or mascarpone, and instead uses cream cheese, whipped topping and sliced pound cake! It’s a quick to prepare dessert that’s entirely no bake, and it always vanishes fast.
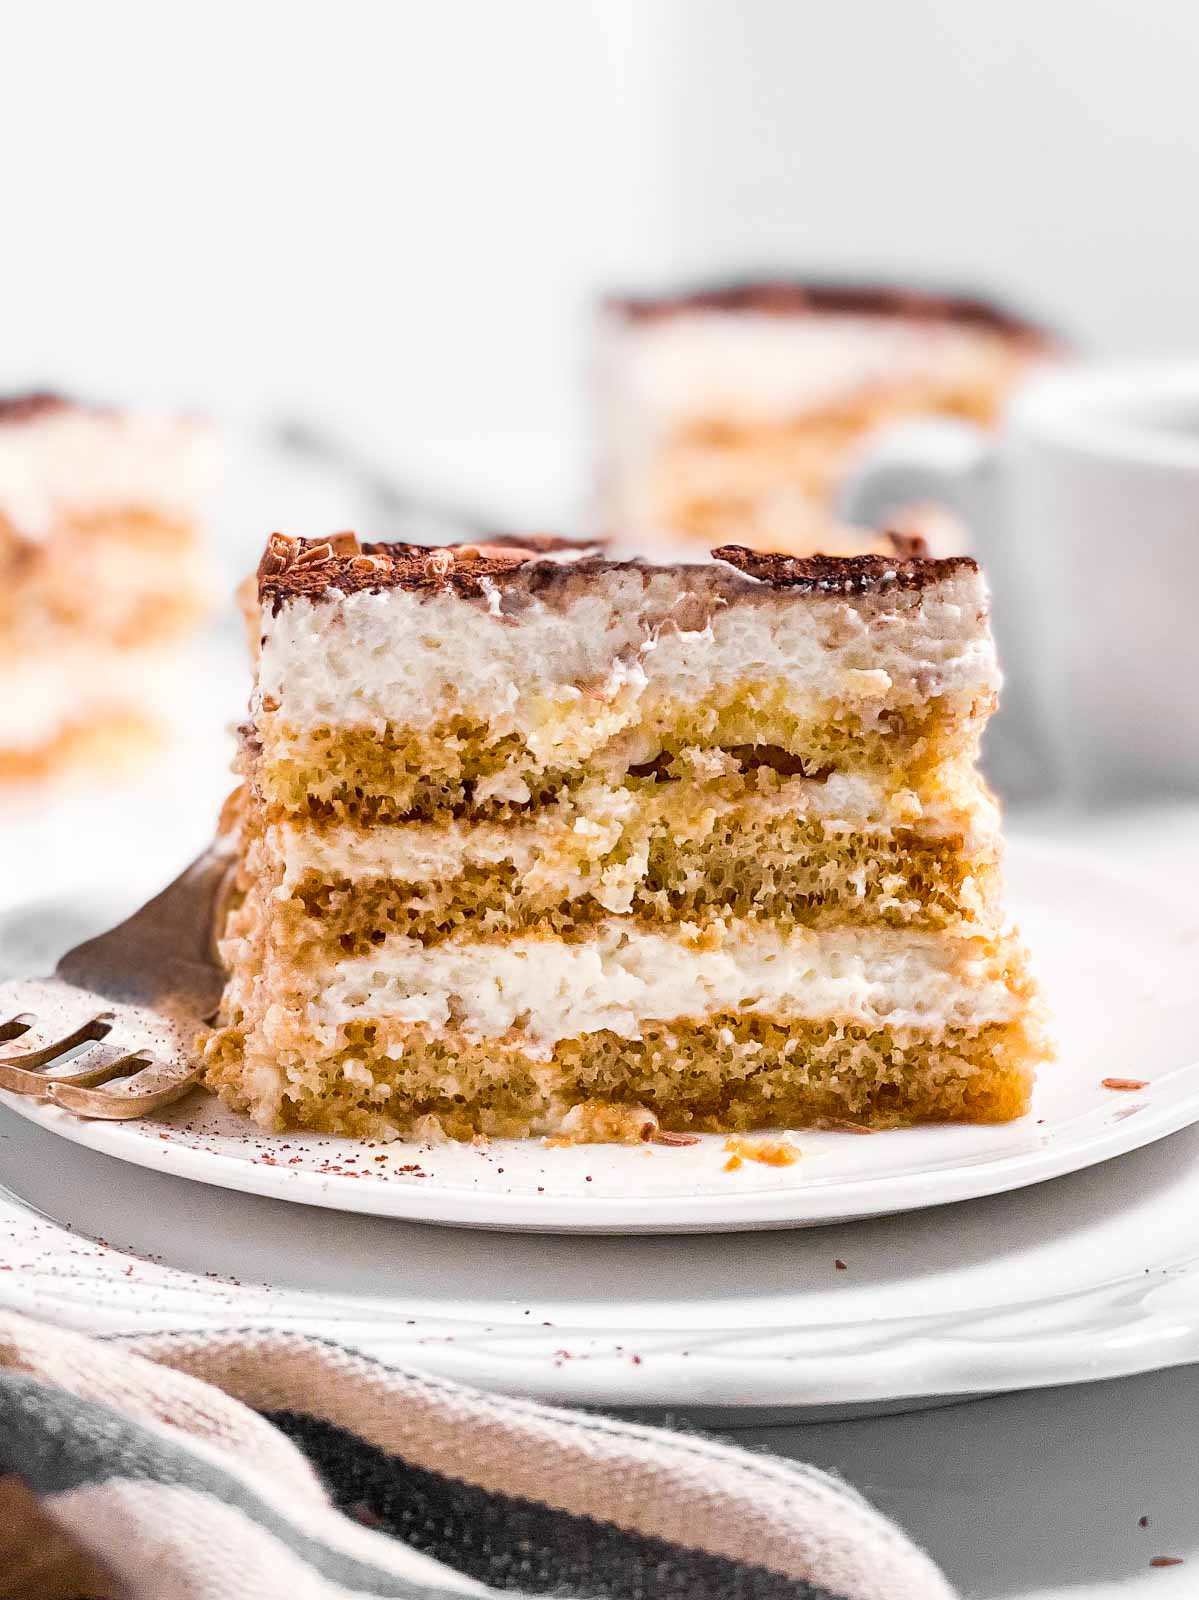
My husband’s family is famous for how much Tiramisu they can eat. We make like three pans that should probably serve 30-40 people, and then it’s more like 12 people finishing every last bit, haha.
Since the real version is quite costly to make, and also way too much work to make 3 pans worth… I figured out a lot of swaps to make it budget friendly and easy.
I call this my “American Tiramisu”, and while I would never claim it’s better than a fancy authentic version… I think it’s pretty darn good, even without all of the expensive ingredients, without the raw eggs and whatnot!
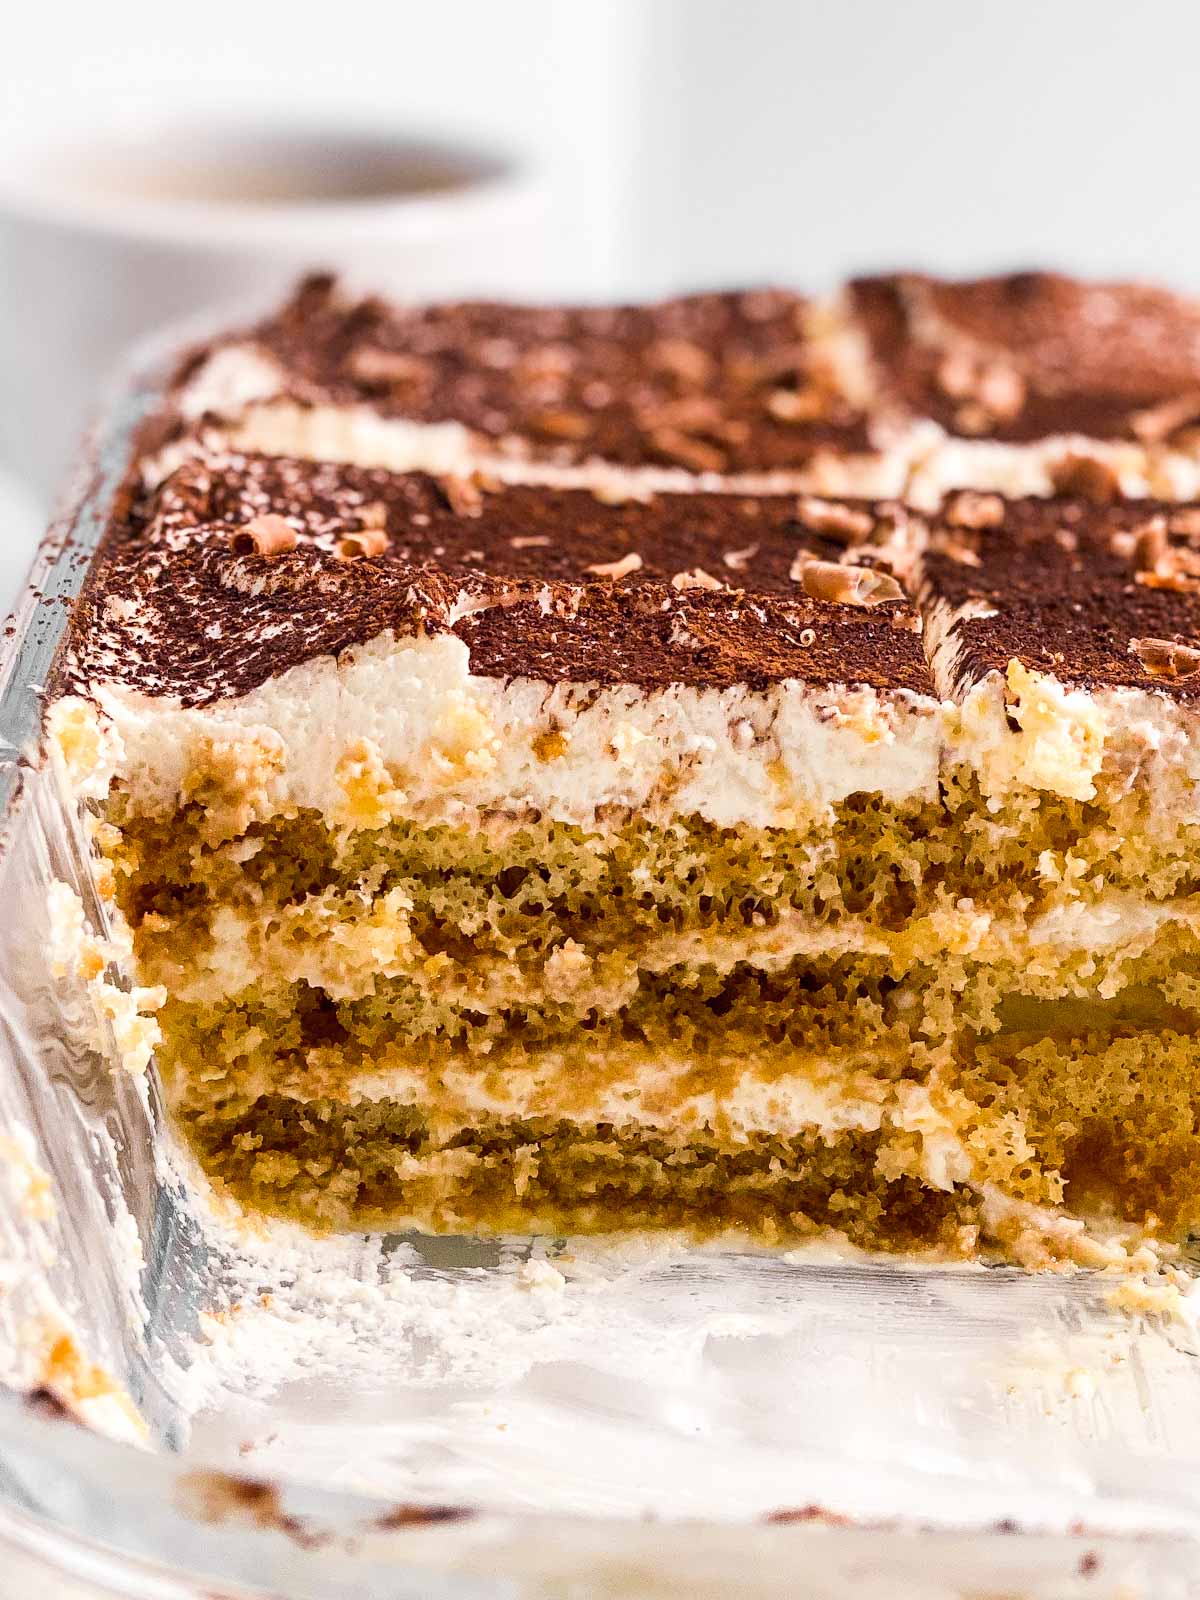
Ingredients you’ll need
This is just an overview of the ingredients needed – scroll to the recipe card at the bottom for exact quantities and instructions.
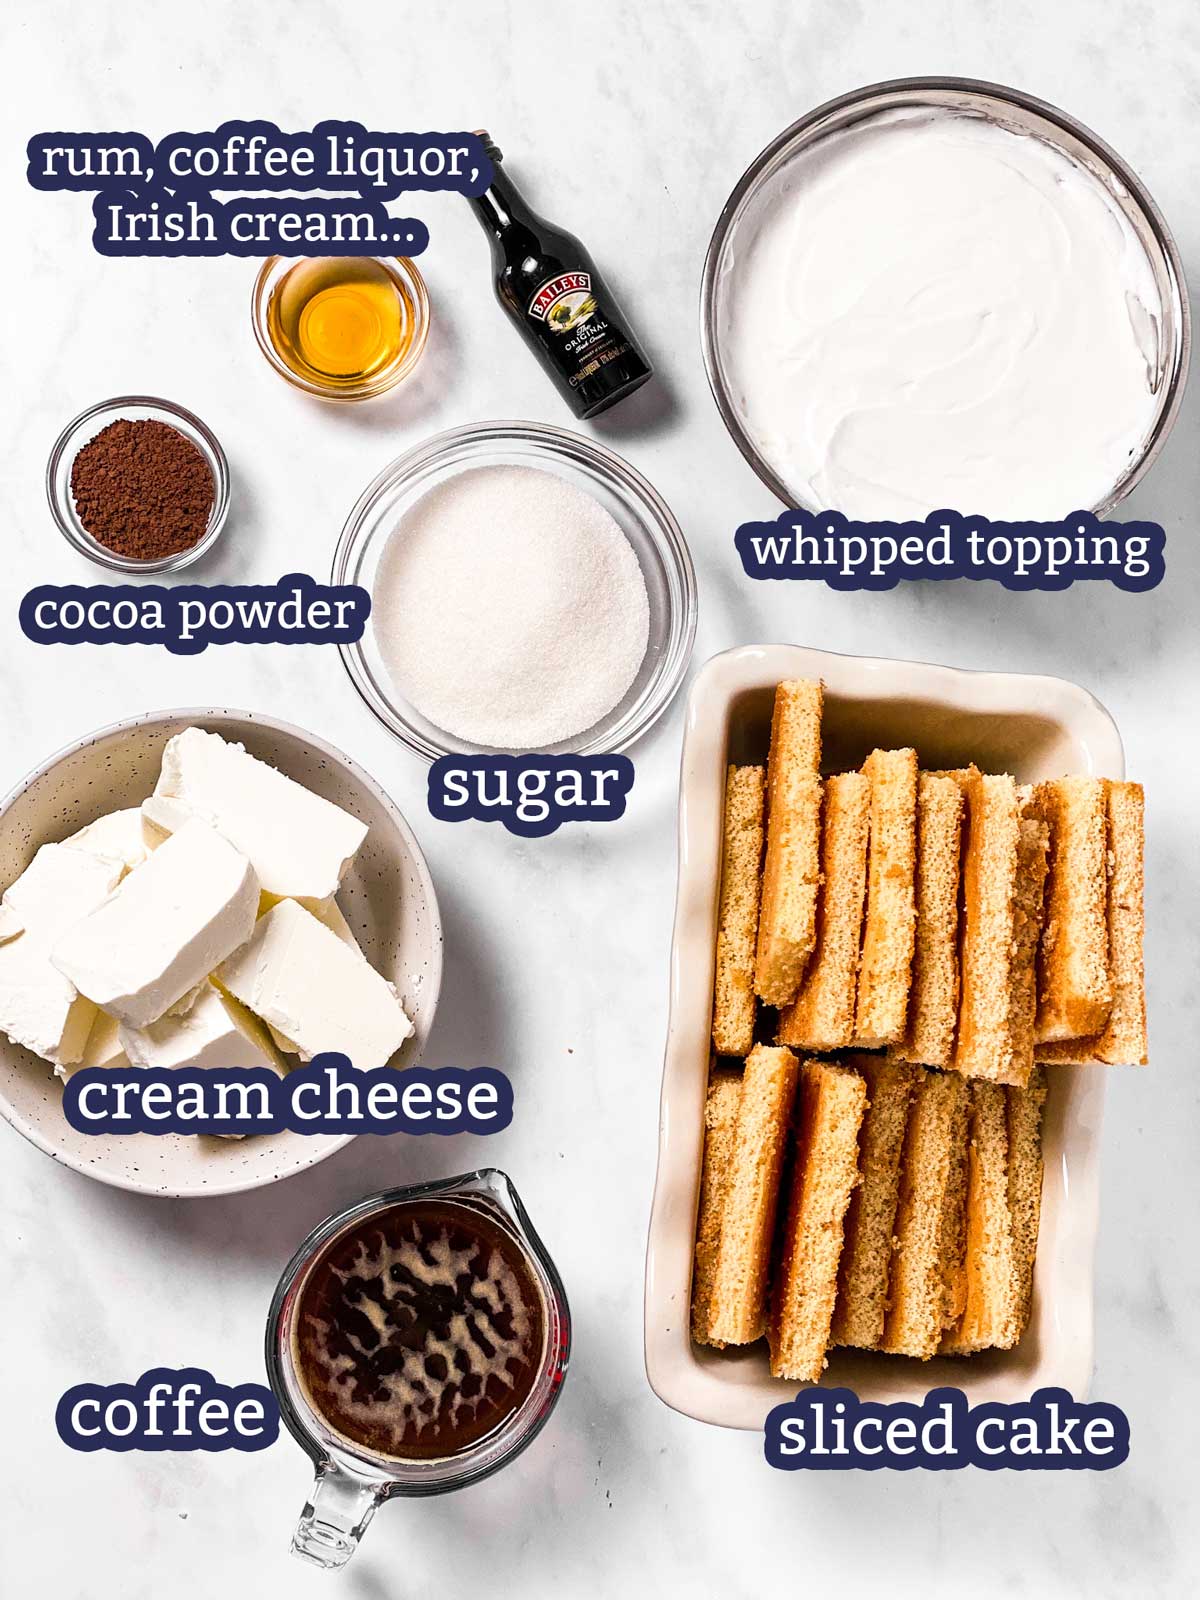
Ingredient notes
- Cake: I like pound cake or angel food the most, but you can even get away with sponge cake slices or yellow cake, white cake… Whatever you have on hand or can find at the store. If you use frozen, make sure to fully thaw the cake first, or the Tiramisu will be watery.
- Cream cheese: I have made this both with full fat and with light cream cheese. Both can work, the light is just less rich and creamy.
- Whipped topping/Cool Whip: You’ll want to fully thaw this as well before using.
- Alcohol: You can make this recipe without alcohol if you prefer and just add 1-2 teaspoons of rum extract, vanilla extract or almond extract for flavor. As far as the alcohol goes, use whatever you enjoy with coffee, haha. Rum added to the cream mixture is really good, but you can also use a coffee liquor like Kaluha or an Irish cream to substitute 1/4 to 1/3 of the coffee. If you like a milder alcohol taste, just use 1-2 tablespoons stirred into the full cup of coffee.
How to make this easy Tiramisu
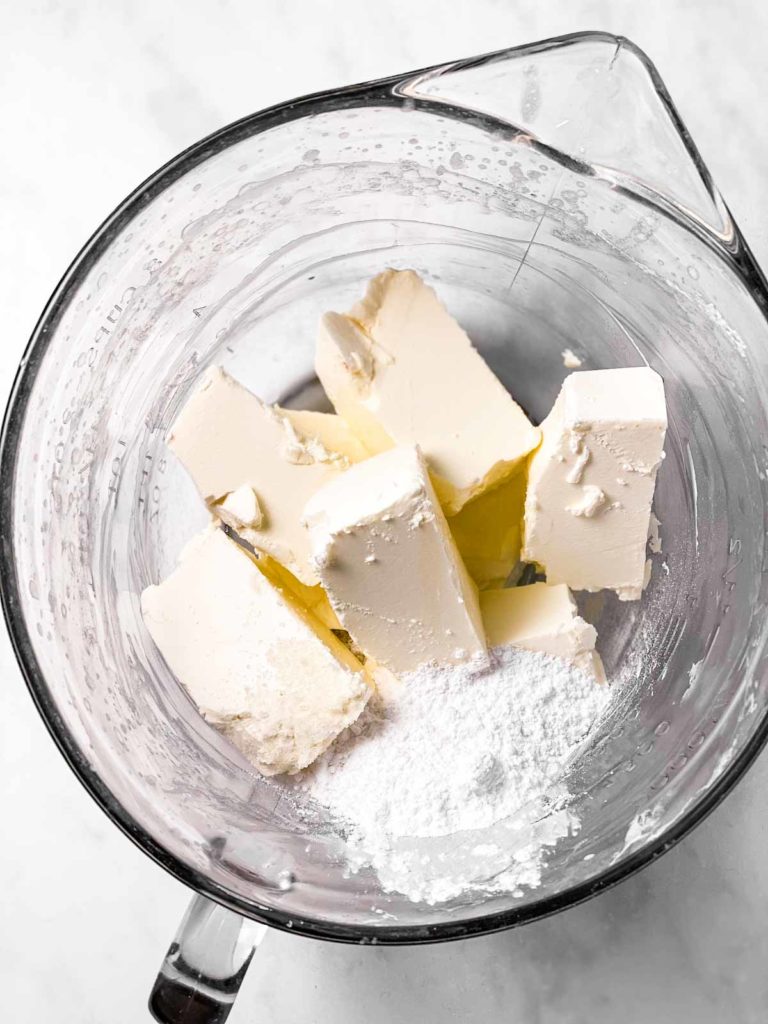
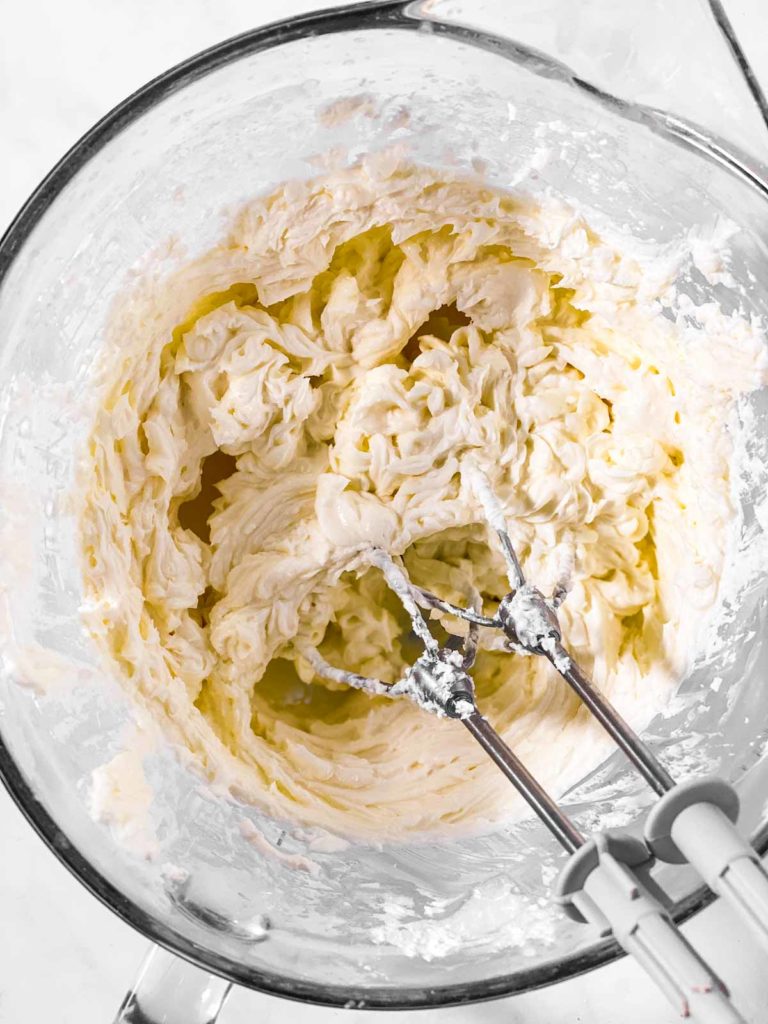
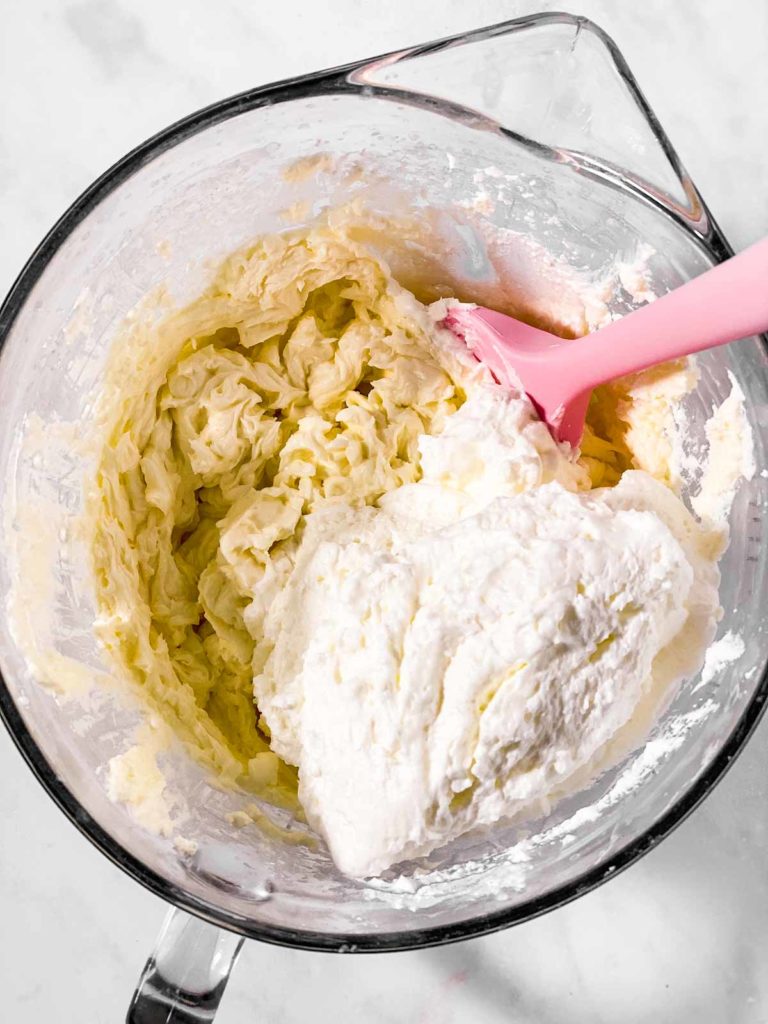
1. Start with the cream mixture: Beat the cream cheese with the sugar and rum (or extract) until whipped and creamy. About 1-2 minutes on high speed with a handheld mixer will do.
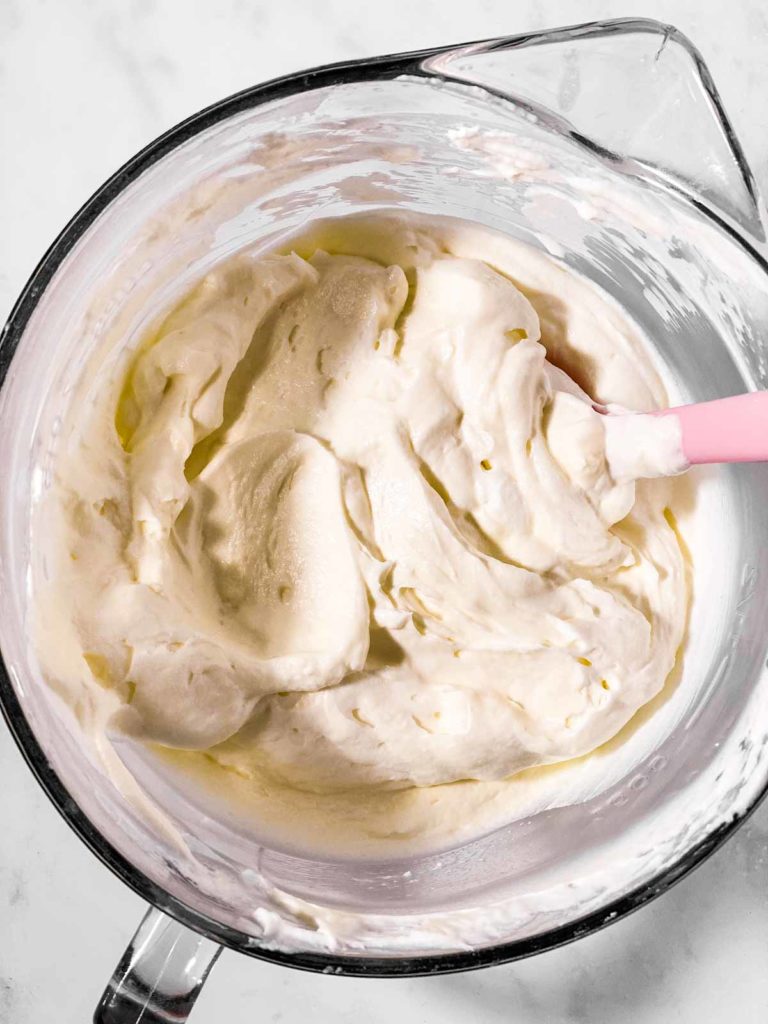
2. Carefully fold in the whipped topping (use a spatula or a wooden spoon, not the mixer) until fully combined.
cream cheese, sugar, rum… … beat until smooth add whipped topping… … and fold in
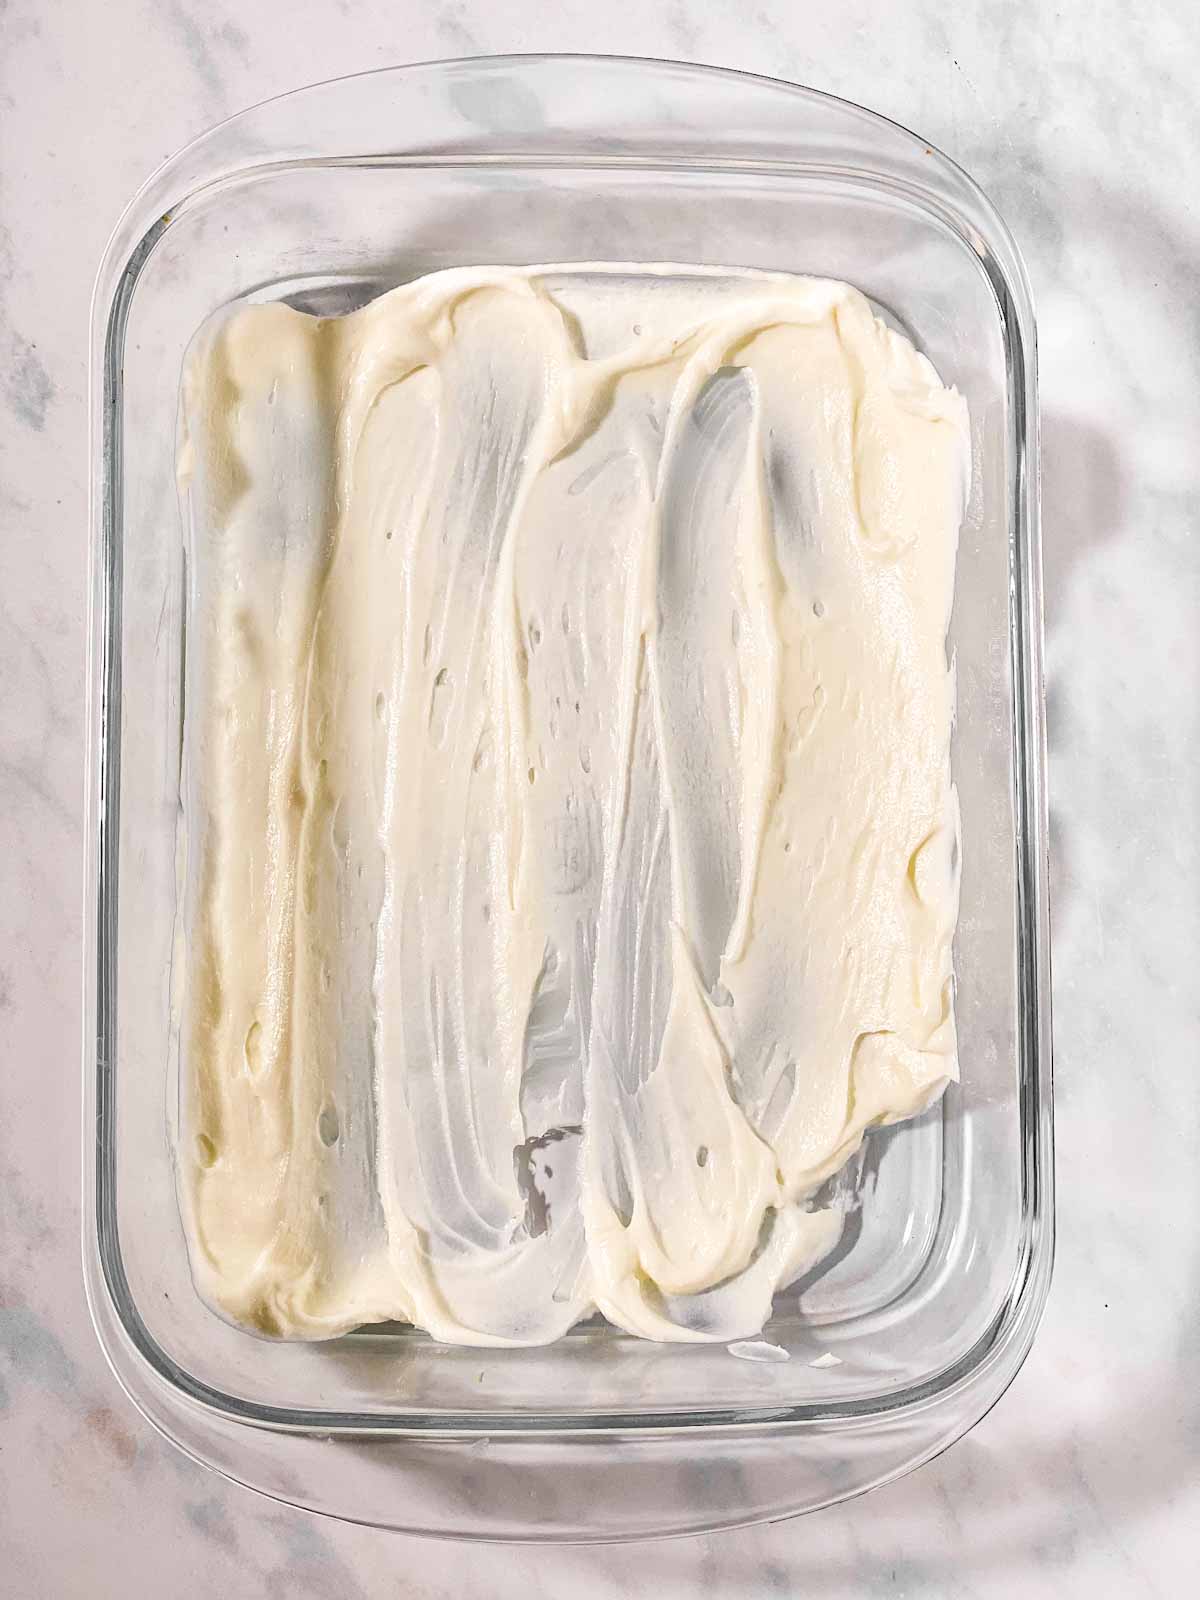
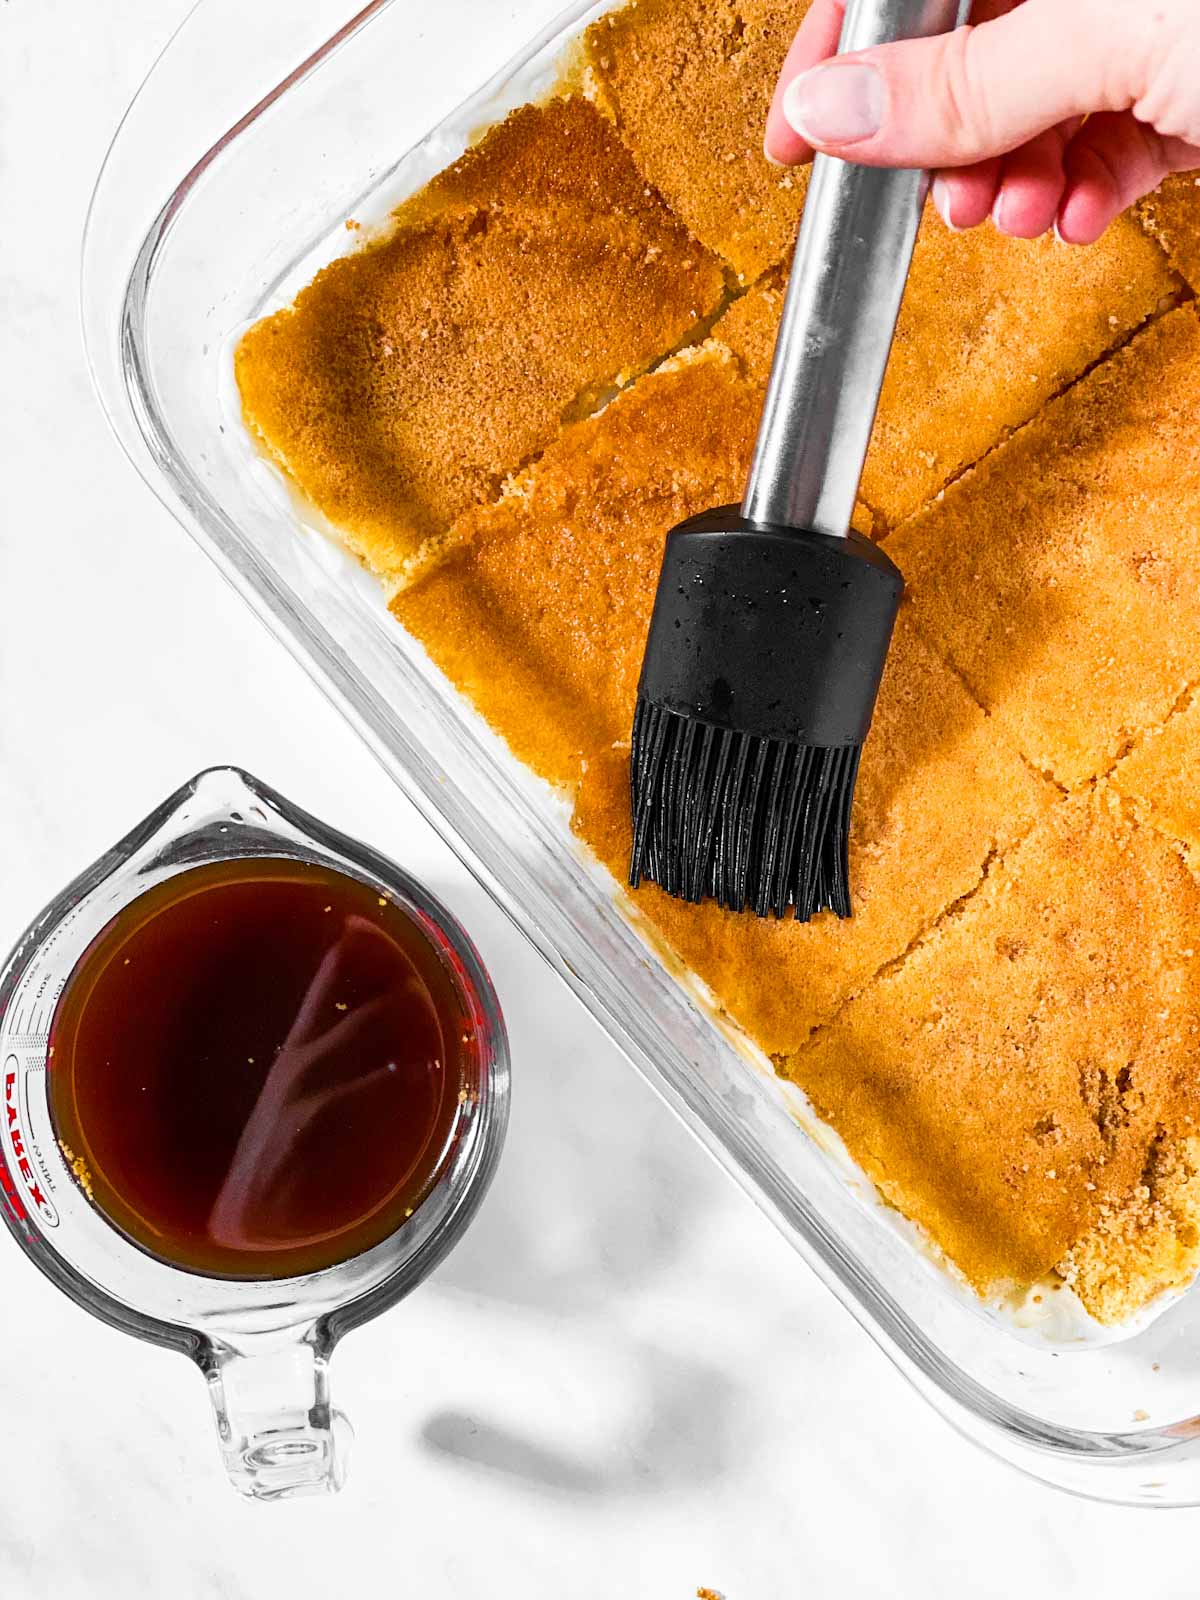
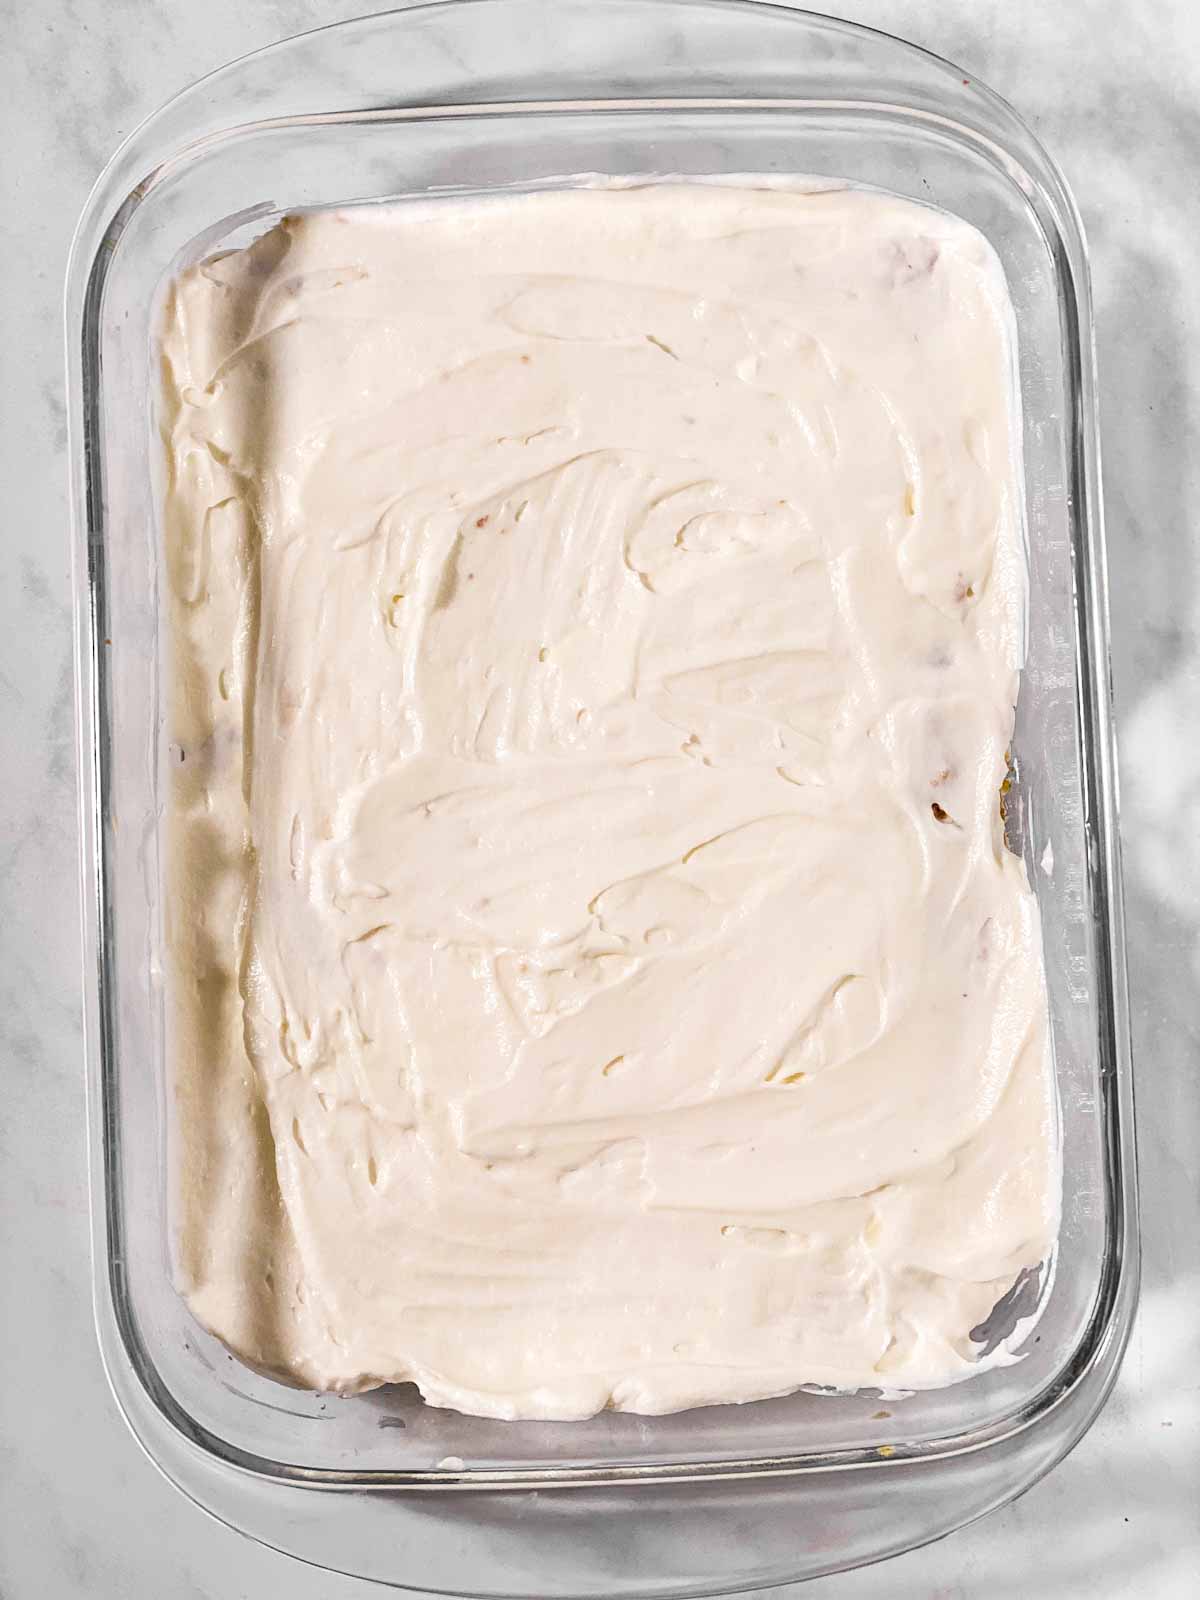
3. Now spread a thin layer of the cream mixture over the bottom of a 9×13 inch pan. Arrange a single layer of cake slices on top and brush them with 1/3 of the coffee mixture (for the coffee mixture, combine coffee, 1 tablespoon sugar and any alcohol you want to add).
thin layer of cream before first cake layer brush cake layer with coffee mixture
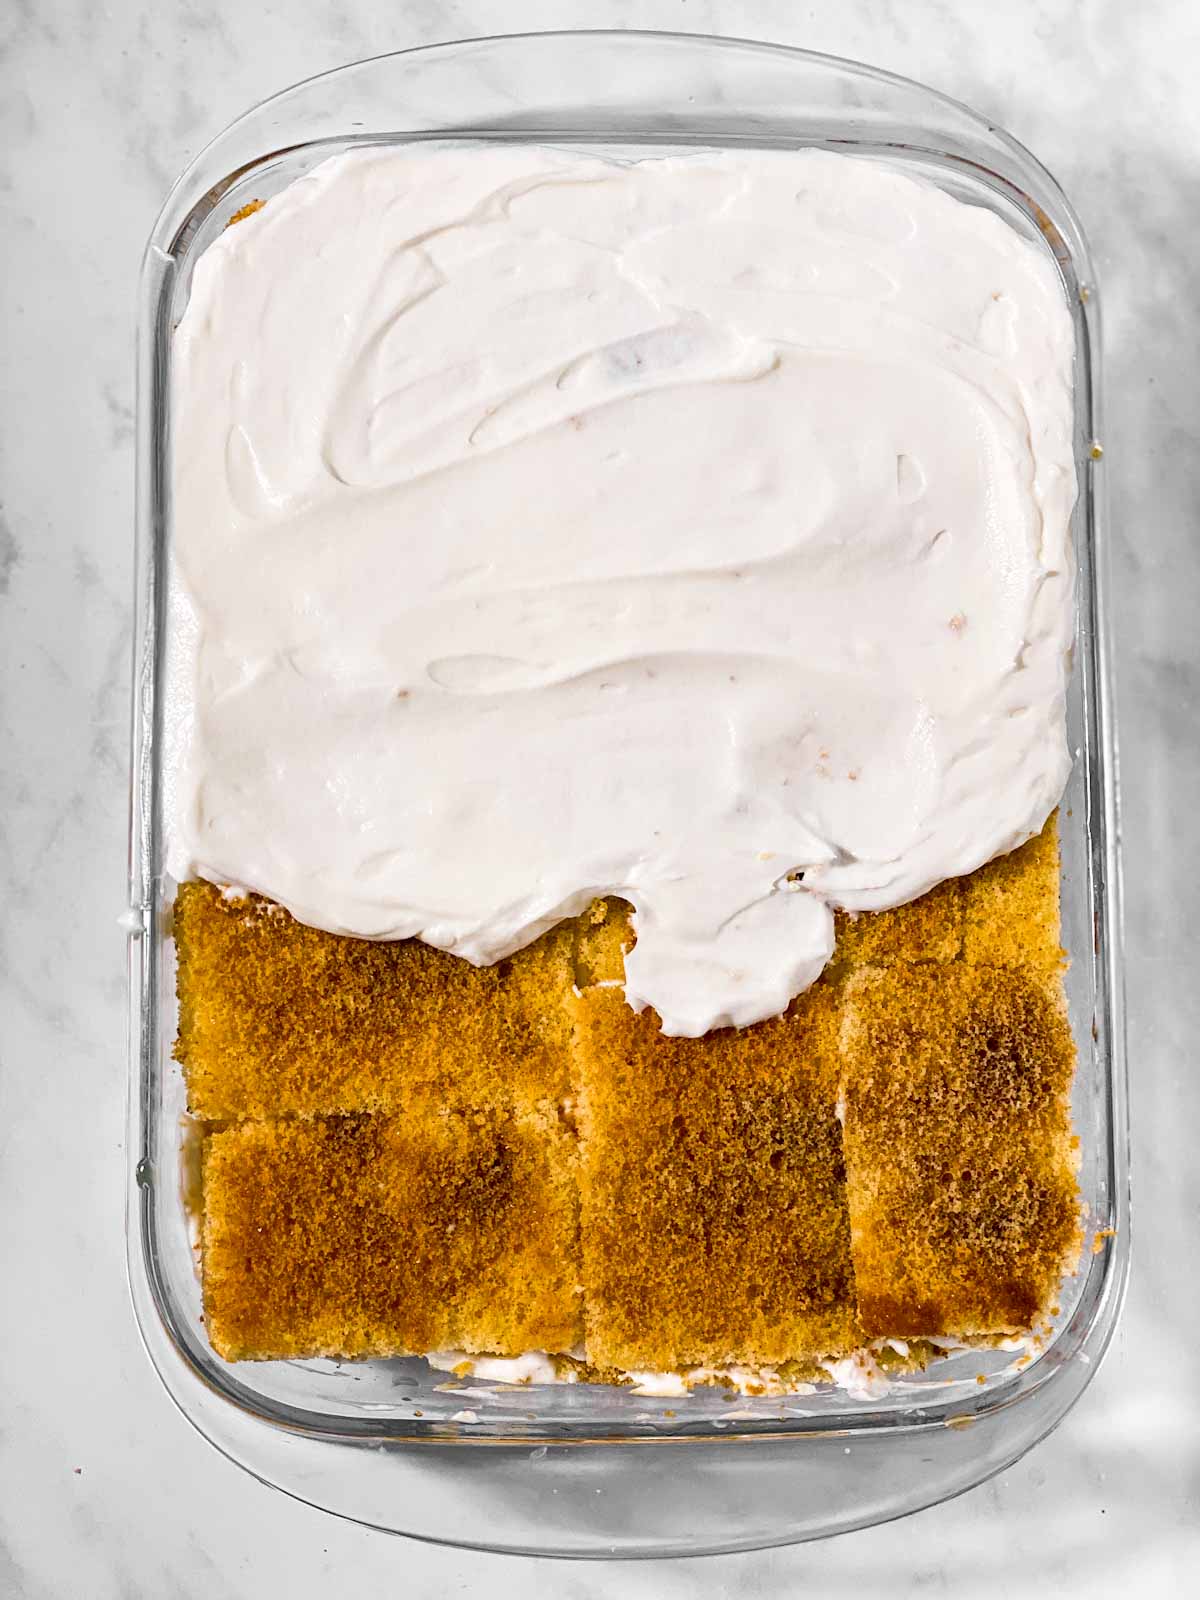
4. Spread 1/3 of the cream mixture over the cake (try to be careful and don’t stir up too many cake crumbs; I use the back of a tablespoon to gently spread the cream).
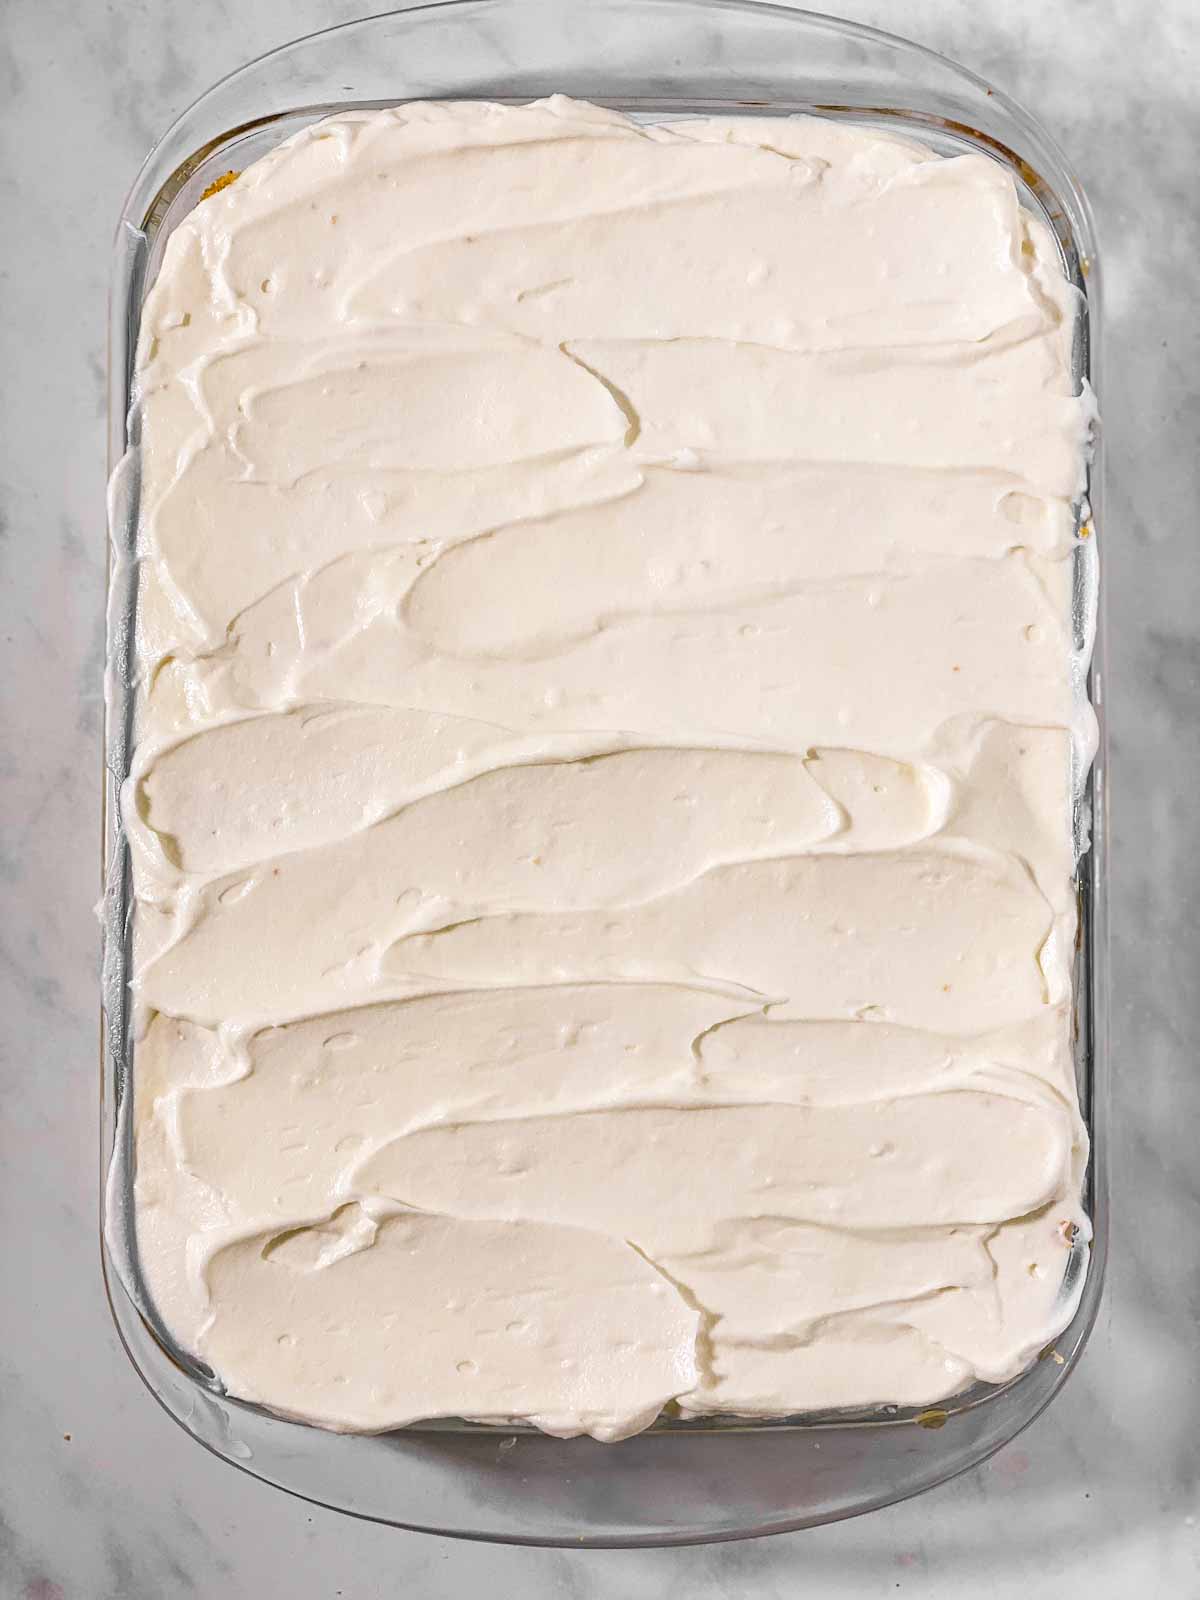
5. Then repeat the layers 2 more times (the layers are always in this order: 1/3 of the cake – brush with 1/3 of the coffee mixture – spread with 1/3 of the cream mixture).
spread cream over cake keep layering for 3 layers in total
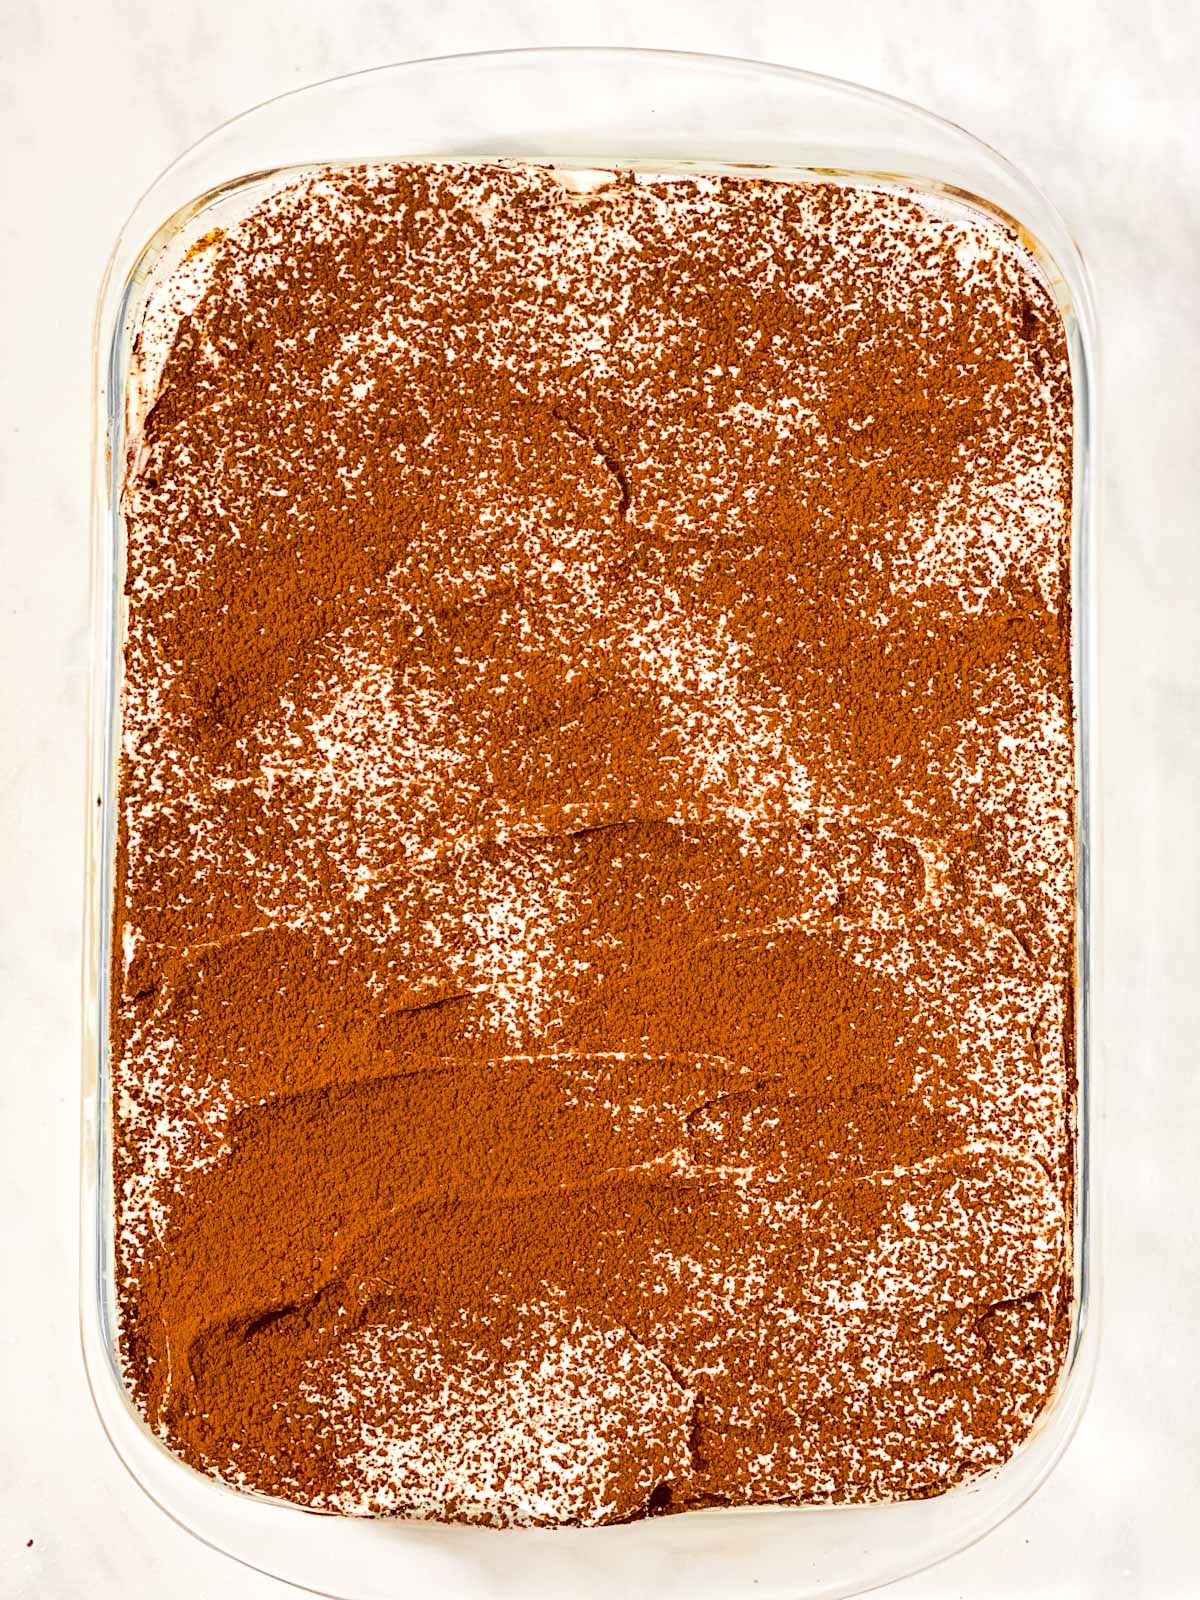
6. Once you’re done with layering, dust the top with cocoa and refrigerate for at least 4 hours and up to overnight.
finished layering dust with cocoa and chill
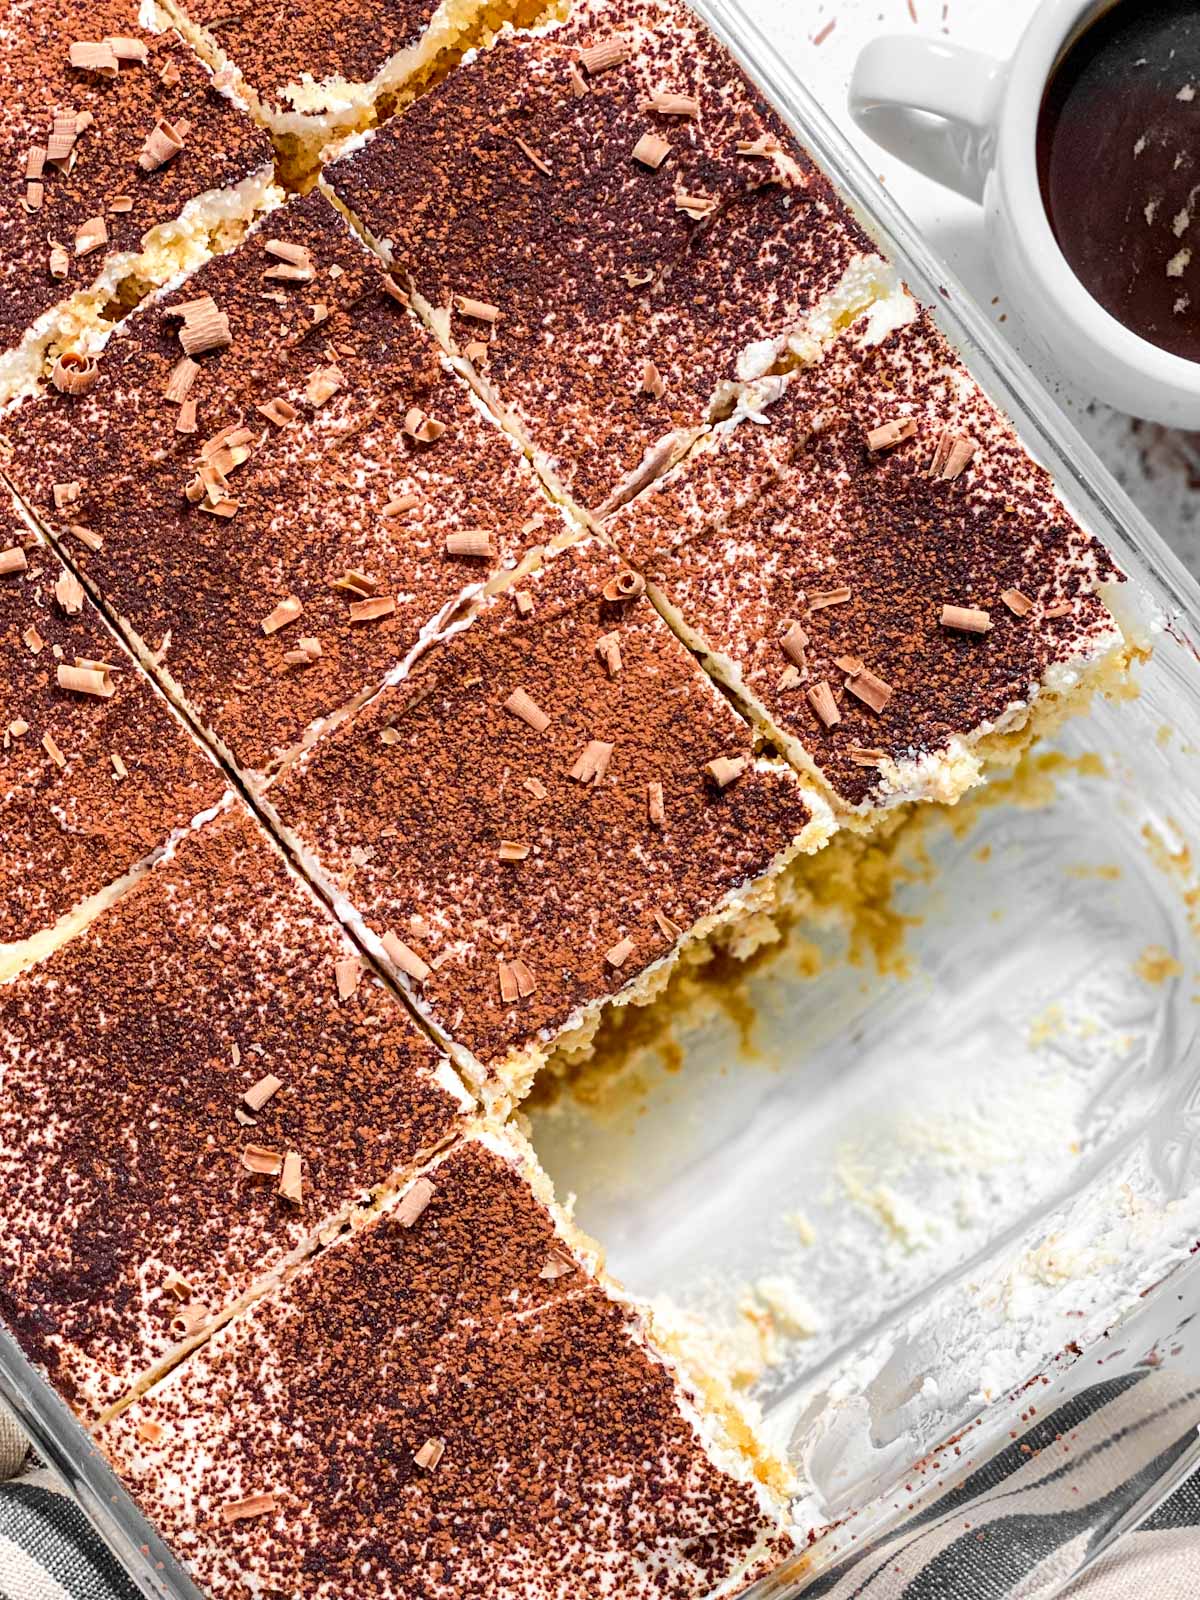
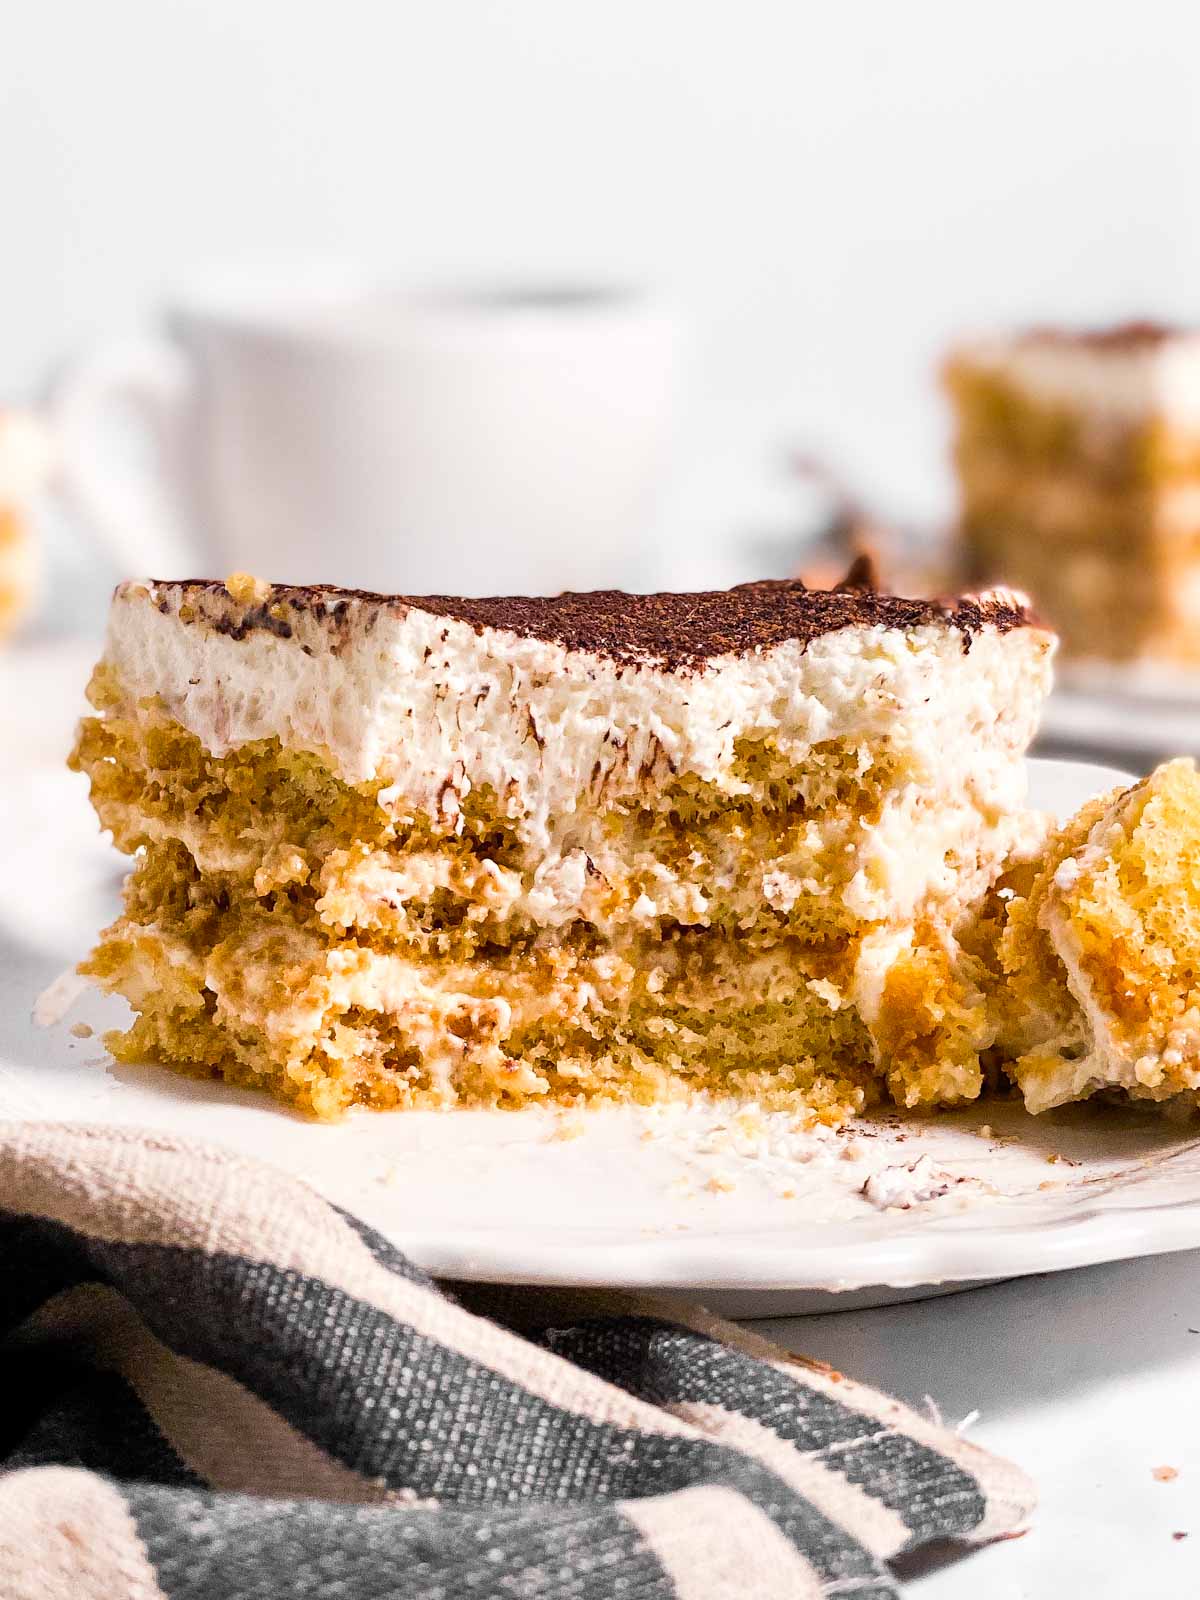
I always dust with a little fresh cocoa and sprinkle with some chocolate curls before I serve it. I recommend to slice and portion out straight from the fridge. And then some people like to eat theirs right away and others prefer to let it sit at room temperature for 10-15 minutes first. Up to you!
Recipe tips
- Cake cutting: Make sure you don’t cut the cake too thin, or the layers won’t be able to support the cream. But make sure you cut enough slices to cover the pan 3 times! 1/3 to 1/2 inch is fine, you want to get about 30 slices from the cake (normal servings are about 16 slices, so you need to cut about half as thick as you would for regular cake servings). I always like to have an extra cake on hand in the freezer in case I cut too thick! Then I can just quickly microwave a couple of extra slices.
- Cream: Be sure to use a spatula or wooden spoon to fold the Cool Whip into the cream cheese mixture. You don’t want to knock all of the fluffiness out, so do not use a mixer for this particular step (a mixer is fine and recommended when beating just the cream cheese at first).
- Chocolate curls: Just use a bar of chocolate (semi-sweet or dark work best) and a vegetable peeler and use it to peel long strips of chocolate off the thin edge. Super easy and makes any dessert look way fancier than it is!
- Chilling: I do recommend to make the Tiramisu the night before to allow the flavors to blend and the cream to properly set. But you can get away with just 4 hours in the fridge, just make sure you do stick to at least those 4 hours or else you won’t be able to slice it.
- If you’re in a pinch: Need the Tiramisu as quickly as possible? I’ve been there! Instead of assembling it in a pan, layer it into individual dessert glasses or bowls and serve it as Tiramisu Parfait. You can either not chill it at all, or chill it for a short amount of time to get it cooled a little.
- Storage: Keep your Tiramisu refrigerated and eat it within 3 days.
Tips for neat serving
Here comes a caveat: I only paid attention to super nice servings for the photos. My family usually goes to town on Tiramisu and it isn’t a pretty sight, lol. Or I make an effort when we have special company over I need to impress, which honestly happens almost never.
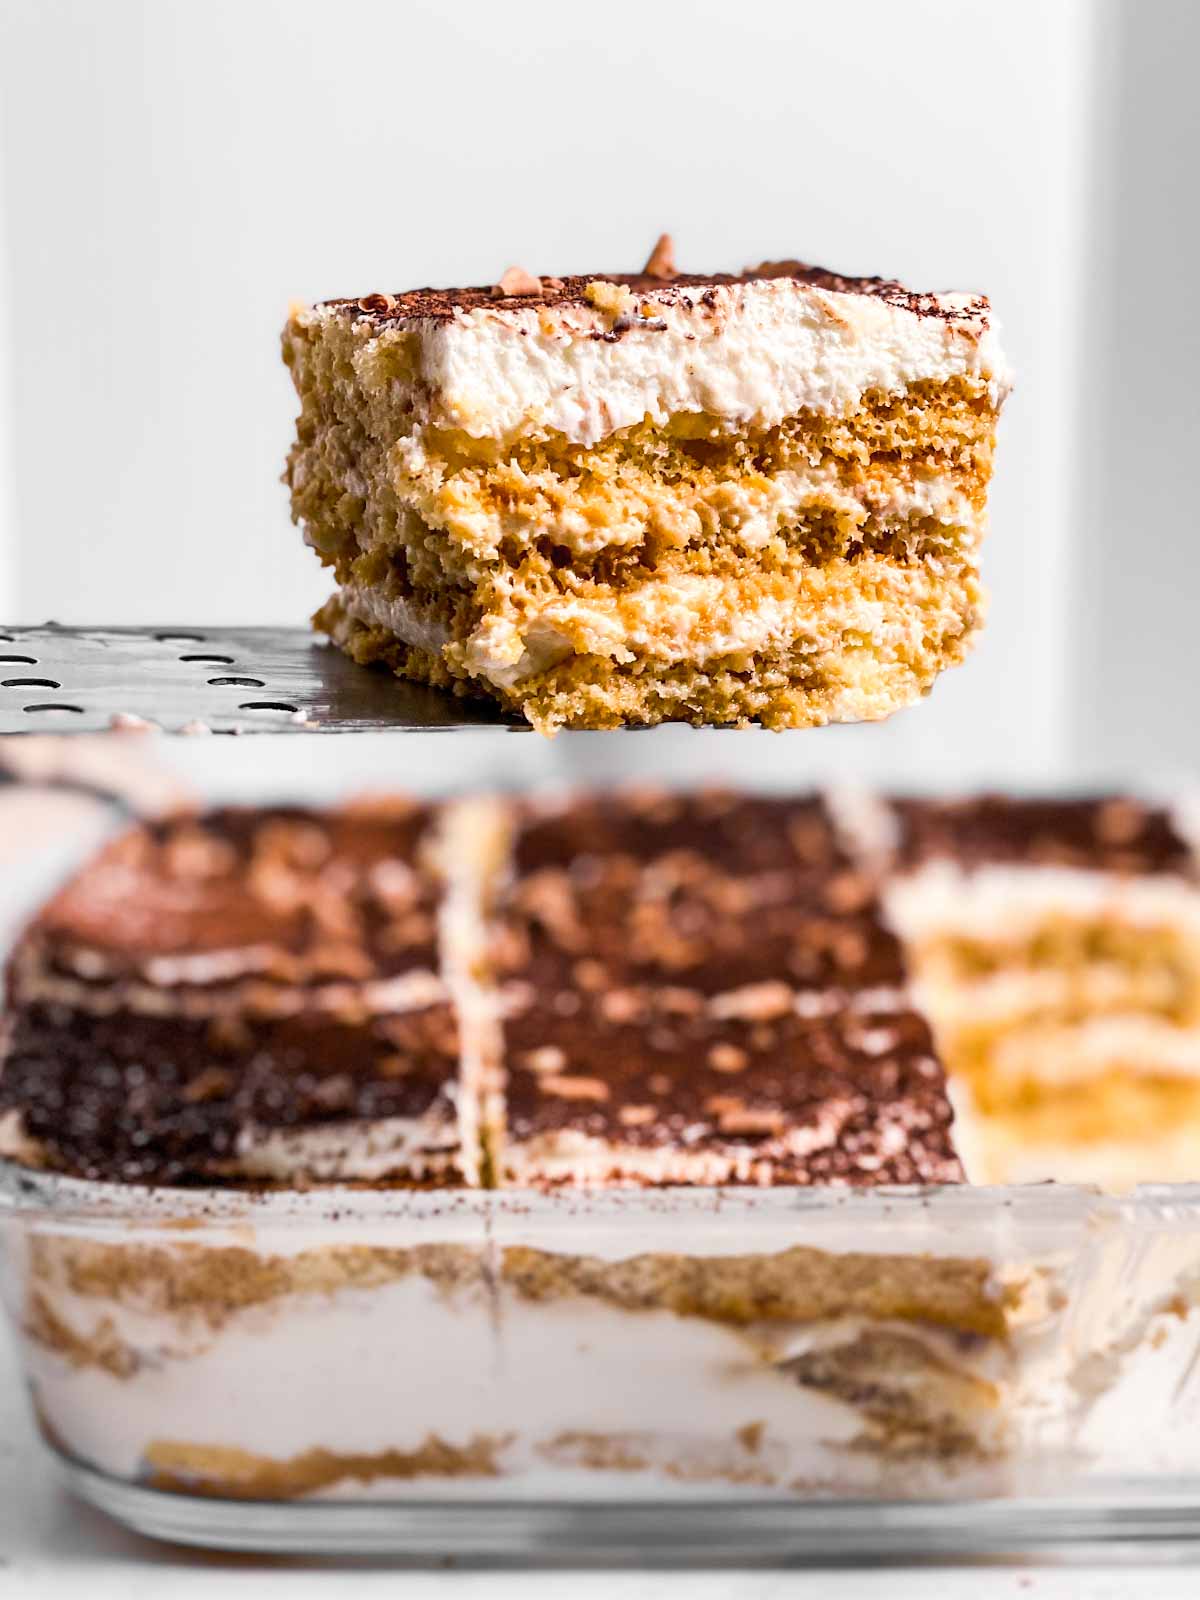
You can either do messy Tiramisu and just spoon it out, or you can use a sharp knife to cut 12 even slices. Wipe it with kitchen paper after each cut. Then you sacrifice the first slice (you’re never going to get the first slice out neatly, and if you do you need to tell me how).
Use a cake server or a flat spatula that’s a tiny bit smaller than the width of your slices, then slide it fully underneath each slice you cut and carefully lift it out. It’s absolutely doable, just a bit more work! But I thought I’d mention it in case you need or want a neat and pretty look.
More no bake dessert recipes
If you tried this recipe, don’t forget to add a review by tapping the stars in the recipe card below!

Easy Tiramisu
This easy Tiramisu recipe is made without eggs or mascarpone, and instead uses cream cheese, whipped topping and sliced pound cake for a quick and easy dessert.
Ingredients
- 1 cup prepared coffee, cooled (see notes for adding extra alcohol)
- 3/4 cup granulated sugar, divided use
- 2 1/2 (8-oz) packages cream cheese, softened (full fat cream cheese preferred)
- 3 tablespoons rum (see notes for substitutes)
- 1 (16-oz) container frozen whipped topping, thawed
- 1 (16-oz) pound cake, cut into 30-33 slices
- 1 tablespoon unsweetened cocoa powder
Instructions
- Coffee: Combine coffee and 1 tablespoon sugar (and additional alcohol, if using - see notes). Set aside.
- Cream filling: Mix cream cheese, remaining sugar and rum on high speed using an electric mixer until smooth (1-2 minutes). Gently fold in whipped topping using a rubber spatula or wooden spoon.
- Assemble: Spread thin layer of cream cheese mixture over bottom of ungreased 9x13 inch pan. Arrange 1/3 of cake slices in pan, making sure to leave no gaps. Brush with 1/3 of coffee mixture. Spread 1/3 of cream cheese mixture over cake.
Repeat layers two more times (1/3 of cake slices - brush with 1/3 of coffee mix - spread with 1/3 of cream cheese mixture).
Dust top with cocoa powder. - Chill: Place Tiramisu in refrigerator for at least 4 hours and up to overnight before serving.
- Finish and serve: Once ready, remove Tiramisu from fridge. Dust with a little extra cocoa powder, if desired (chocolate curls are also a neat touch; see notes). Slice and portion onto dessert plates to serve.
Notes
Ingredient notes
Recipe tips



Comments
No Comments